
Sticker Maker Tips
Photo Guide
A few quick tips to help your sticker turn out its best.
Start With Good Light
Natural light brings out the most detail, so shoot near a window or outside when you can.
Best results:
- Daylight or near a window
- Clear, high-resolution photo
- Your dog clearly visible
Avoid:
- Dark rooms
- Blurry photos
- Heavy filters
Pick the Best Angle
A straight-on shot captures your dog's features best.
- Facing the camera
- At eye level
- Sitting or standing
Even if your photo isn't perfect, we can usually still make it work.
Frame It After Uploading
Once your photo's in, Framing lets you zoom and reposition so the crop fits best.

Face Sticker
Face and ears visible.
Half Body
Head and upper body visible.
Full Body
Head, body, and paws visible.
Print Quality
The higher the resolution, the sharper the print. We'll show your photo's quality rating right after you upload.
Phone Photo Tips
- Use original photos when possible.
- Avoid screenshots or compressed social app images.
- Tap to focus before taking the photo.
Advanced iPhone tips
- Settings → Camera → Formats: Use High Efficiency or Most Compatible to keep full-size originals.
- Settings → Camera → Preserve Settings: Keep your preferred mode consistent to avoid accidental low-detail captures.
- In Camera: Avoid digital zoom, tap your dog to focus, and hold briefly for AE/AF lock if your dog is moving.
- When sharing: Send original photos (AirDrop or Files) instead of compressed app copies.
Advanced Android / Galaxy tips
- Camera resolution: Set photo quality to the highest available resolution.
- Save options: Keep original image quality enabled (avoid auto-compression modes).
- In Camera: Use 1x lens when possible, tap to focus, and avoid digital zoom.
- When sharing: Send original photos from Gallery/Files instead of compressed app copies.
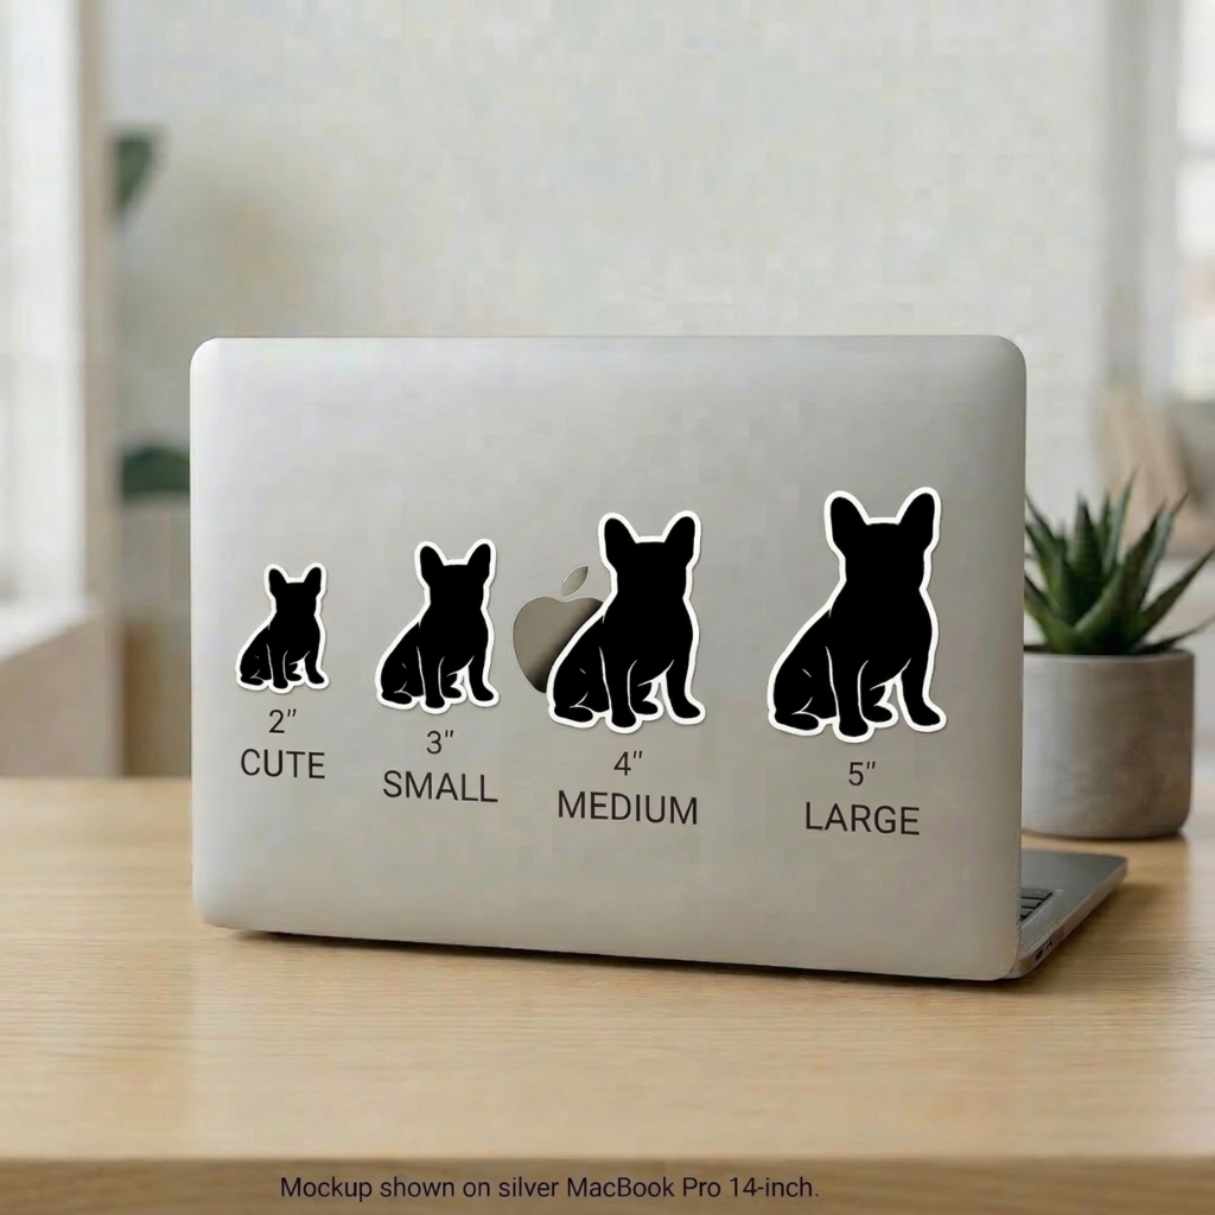
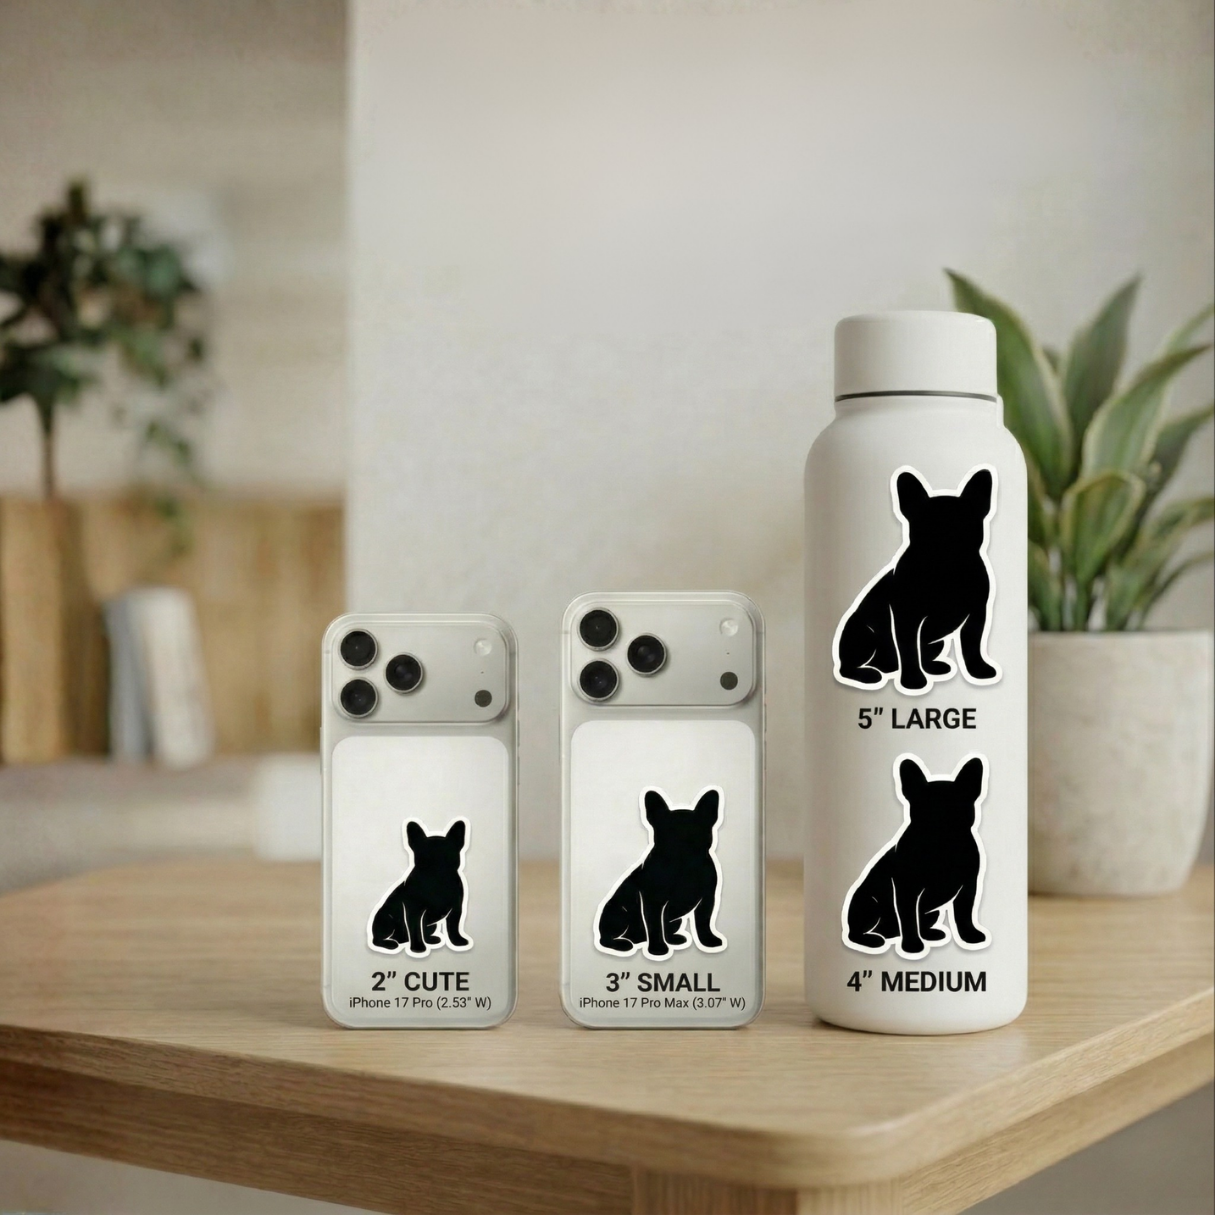
Sticker Size Comparison
See how each size looks on real objects.
2" feels subtle. 5" makes a statement.
Ready to make your sticker?
Got your photo picked out? Head back and upload it.